
Dollar Tree DIYs That Look Expensive: 6 Easy Projects
In this article
- 1. The $1.25 rule: real supplies, real prices
- 2. Glass bottles and dried stems
- 3. Frames that look expensive
- 4. Candle holders, done safely
- 5. Hands-on: paint something
- 6. Style it like you mean it
- What it costs: budget bands
- Dollar Tree DIY mistakes to avoid
- Frequently asked questions
- What can I make from Dollar Tree supplies?
- Are Dollar Tree DIYs really $1.25?
- How do you make Dollar Tree decor look expensive?
- Is it safe to use candles in Dollar Tree holders?
- What paint works on Dollar Tree glass and ceramic?

Dollar Tree DIYs that look expensive start with the store, not the project. Most core Dollar Tree craft and glass essentials still sit at the $1.25 base price. That number is the whole game: every project below costs a few dollars in supplies, and the expensive look comes from texture, scale, and simplicity — not from pretending a $1.25 frame is a designer piece. Six projects, each with the real supplies and the real price.
1. The .25 rule: real supplies, real prices
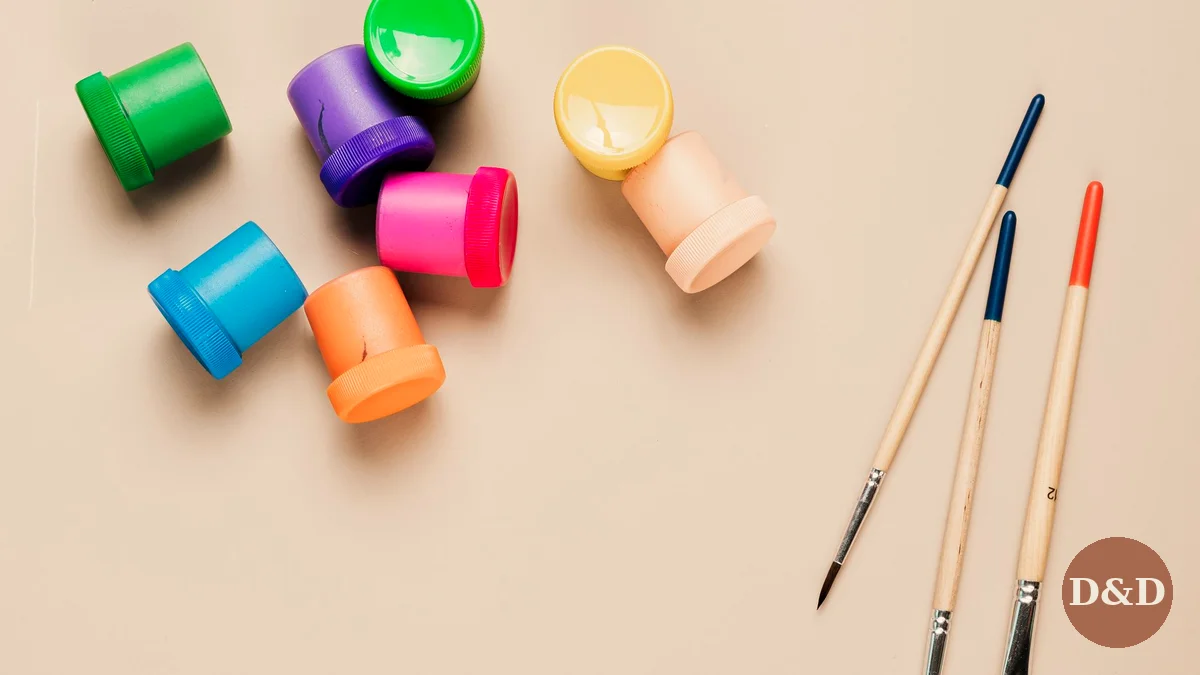
The idea: before any project, know the price. The paint pots in the photo are bright craft colors — green, purple, pink, blue, orange, yellow — with three brushes. That’s the whole supply list for the first three projects: paint, brushes, and something to paint on. Dollar Tree’s base price is $1.25 per item, so a project with three supplies costs under $4.
How to do it: make a list before you go in: one paint color (or two), one brush set, and the item you’re transforming. Skip the glitter, the stickers, and the fifth color — the expensive look comes from restraint, not from the cart. Check the price at the shelf: some items are above $1.25 now, and the receipt is the only honest price.
2. Glass bottles and dried stems
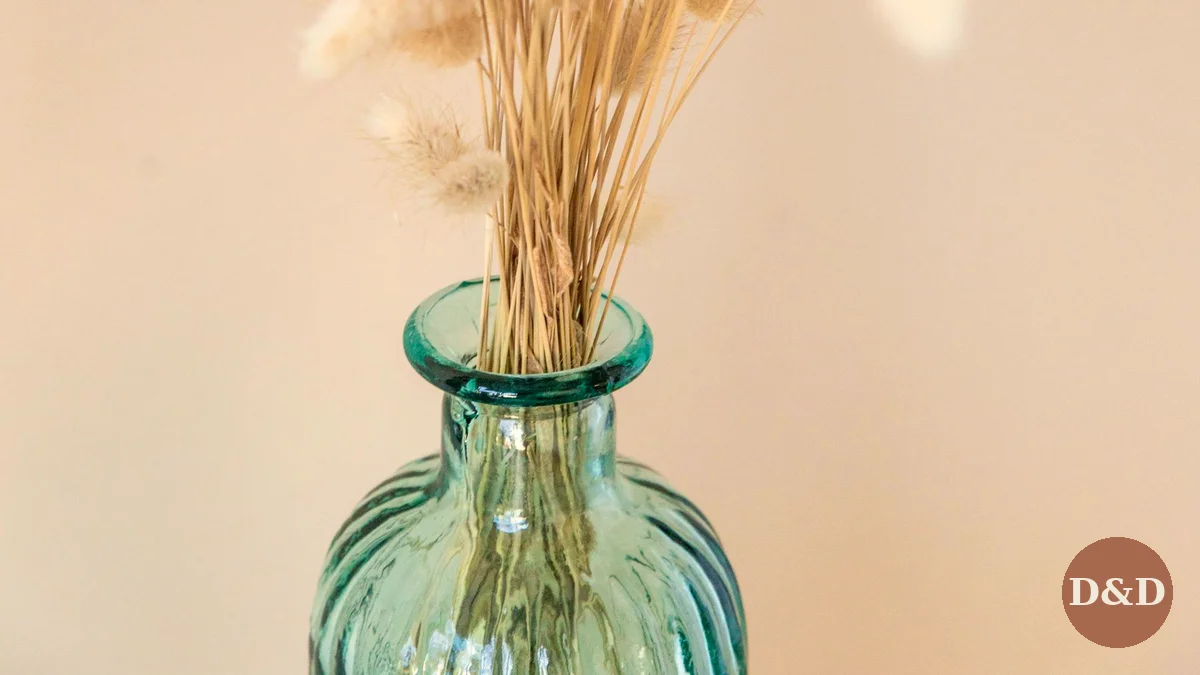
The idea: the green ribbed glass bottle in the photo holds dried bunny-tail grass — and that’s the whole project. Glass bottles and dried stems are the cheapest texture in home decor: the bottle is $1.25, the stems are a few dollars, and the look is a florist’s.
How to do it: pick a bottle with shape — ribbed, amber, or green glass. Fill it with dried stems: bunny-tail grass, pampas, or eucalyptus. One tall bottle on a shelf beats five small ones on a table — scale is the rule. Keep the stems dry and out of direct sun, and they’ll last a year.
3. Frames that look expensive
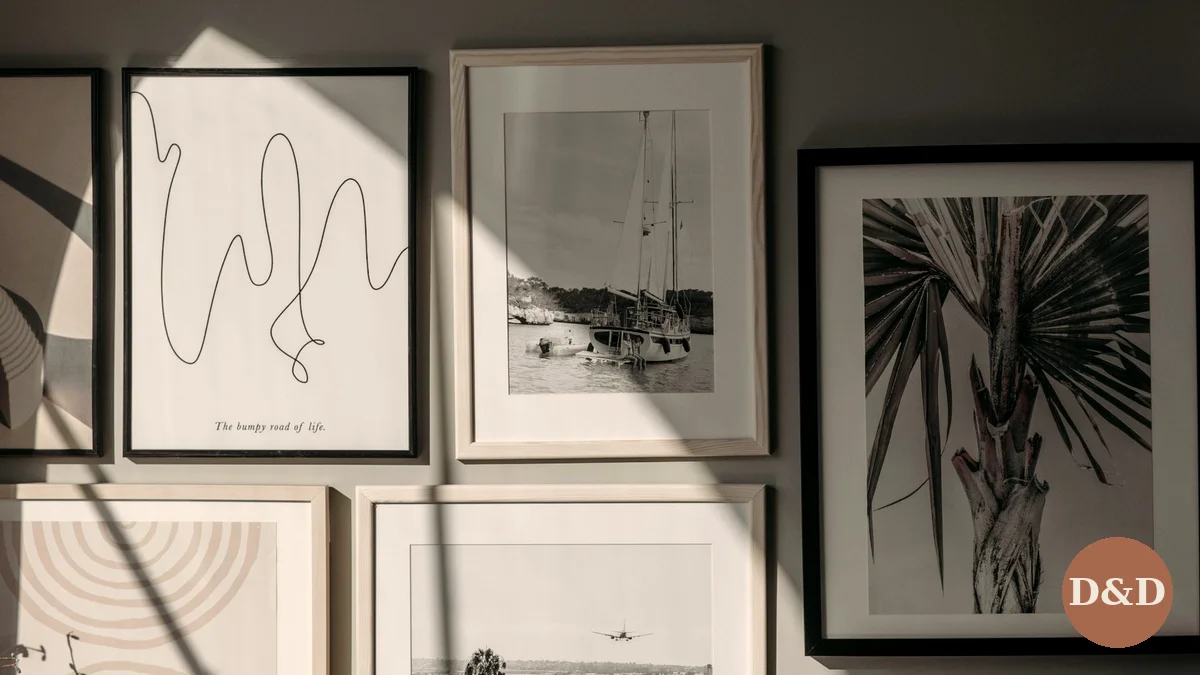
The idea: the gallery wall in the photo — framed line art, a sailboat photo, a palm print — is the most expensive-looking DIY in this article, and it’s mostly frames. A row of matching frames on a dark gray wall reads as a collection, not a bargain bin.
How to do it: buy frames in one color and one size — matching frames are what make a gallery wall look deliberate. Print your own art: free line-art prints, your own photos in black and white, or a single color wash on paper. Hang them in a grid with equal gaps — 2 inches between frames, levelled. The wall color matters: a dark gray wall makes white mats pop.
4. Candle holders, done safely
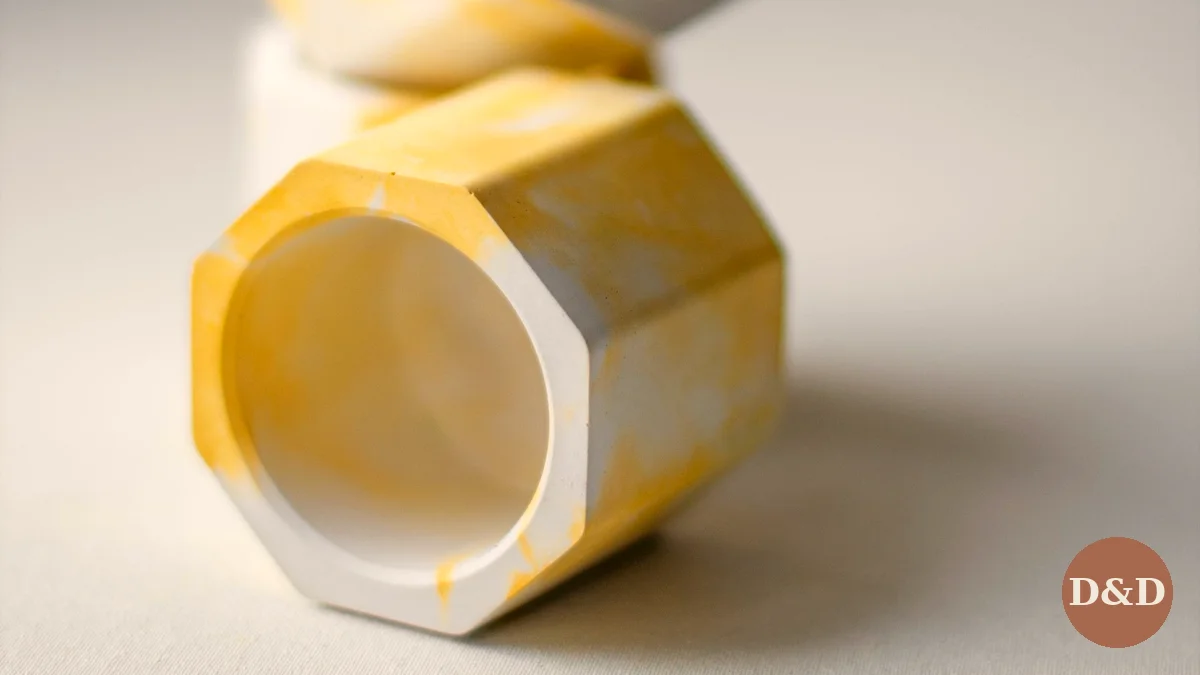
The idea: the two empty yellow-and-white marbled tealight holders in the photo are ready for LED tealights — and that’s the safety rule. Real flames in a $1.25 holder are a bad idea; LED tealights give the same glow with no heat, no soot, and no fire risk. Empty holders are the honest photo: the candle is the last thing you add.
How to do it: use LED tealights only — never a real flame in a dollar-store holder. Group holders in odd numbers (three, not two) and vary the heights. Put them on a tray, not straight on wood, and keep them away from curtains. LED candles are the one place where the fake version is the right version.
5. Hands-on: paint something
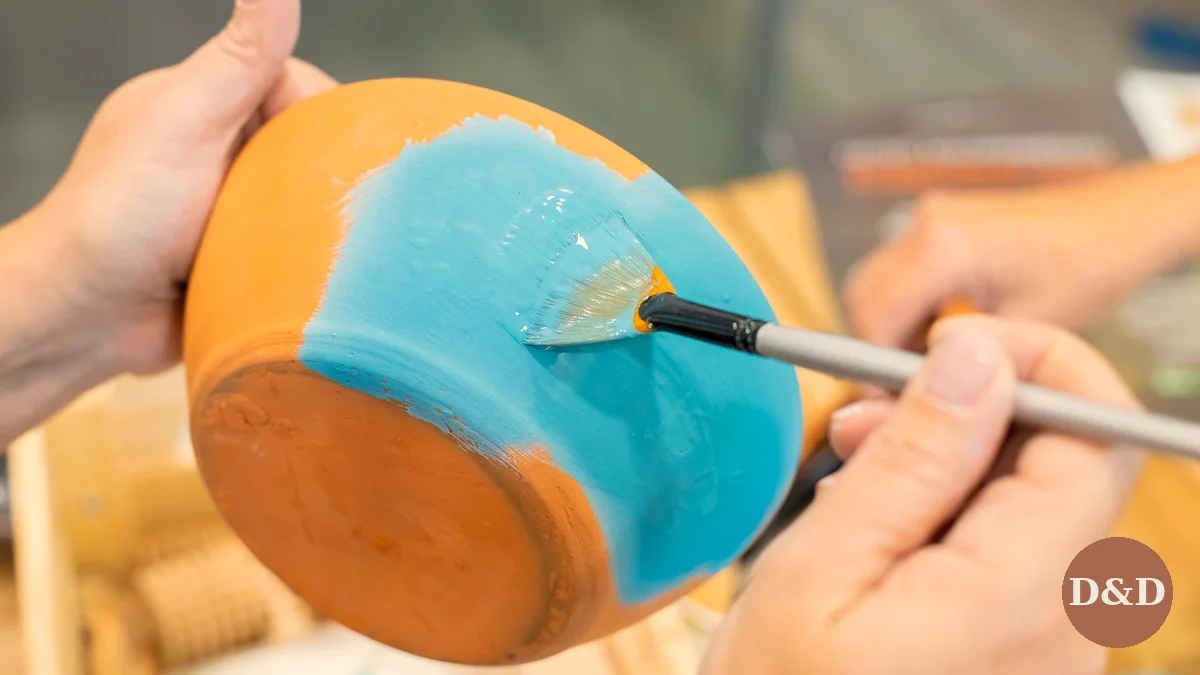
The idea: the hands in the photo are painting a terracotta bowl bright blue with a fan brush — and that’s the most fun project here. Paint is the cheapest transformation in decor: a terracotta pot, a glass jar, a wooden frame — one coat of paint and it looks like a different object.
How to do it: clean the surface first — dust kills paint adhesion. One coat of acrylic craft paint, let it dry, then a second coat. A fan brush gives soft, even strokes on curves; a flat brush is better for flat frames. Seal it with a clear topcoat if it’ll be handled or wiped. One bold color beats three timid ones.
6. Style it like you mean it

The idea: the built-in plaster wall niches in the photo hold sculptural ceramic vases — white and two donut shapes — and the styling is the whole lesson. Three objects, different heights, one color family, and empty space around them. That’s what makes $1.25 supplies look expensive: the styling, not the shopping.
How to do it: style in odd numbers: three objects, not four. Vary the heights: tall, medium, short. Keep one color family and leave empty space — a shelf that’s 30% empty looks curated, a shelf that’s 100% full looks like storage. Step back and look from the doorway: if it reads as one composition, it’s done.
What it costs: budget bands
Plan by band, not by item — each Dollar Tree item starts at $1.25:
| Band | What your money buys |
|---|---|
| Under $5 | One project: paint + brushes, or a bottle + dried stems |
| $5–$15 | Three projects: paint, frames, and LED tealights with holders |
| $15–$25 | The full set: all six projects, styled on one shelf |
Start at the bottom band. One painted pot tells you whether you like the color and the finish — and whether the paint holds up — before you buy the whole shelf.
Dollar Tree DIY mistakes to avoid
Claiming a “Pottery Barn dupe”. It’s a $1.25 frame. Say what it is — the look comes from the styling, not the label.
Buying five colors instead of one. One bold color beats three timid ones — restraint is the expensive look.
Real flames in dollar-store holders. LED tealights only — the fake version is the right version here.
Filling every shelf. A shelf that’s 30% empty looks curated; 100% full looks like storage.
Skipping the topcoat. Unsealed craft paint chips on the first wipe.
Frequently asked questions
What can I make from Dollar Tree supplies?
Painted pots, glass bottles with dried stems, gallery frames, LED candle holders, and styled shelves — the six projects in this article, each under $5 in supplies.
Are Dollar Tree DIYs really .25?
The base price is $1.25 per item, but some items cost more — check the shelf price. A three-supply project costs under $4 at base price.
How do you make Dollar Tree decor look expensive?
Texture over clutter, scale over quantity, simplicity over stuff: matching frames, one color family, odd numbers, and empty space around the objects.
Is it safe to use candles in Dollar Tree holders?
No — use LED tealights only. Real flames in a dollar-store holder are a fire risk; LED gives the same glow with no heat.
What paint works on Dollar Tree glass and ceramic?
Acrylic craft paint, two coats, with a clear topcoat to seal it. Clean the surface first — dust kills adhesion.
If you’re renting, our how to decorate a rental keeps the deposit safe while you DIY. For the rest of the room, our small space organization hacks keep the shelves from turning into storage. And if the living room needs a rug under it all, see how to choose the right rug for a small living room.
Related: Pair dollar-store crafts with high-impact Amazon home decor finds under $50. Scaling up a DIY project to an accent wall? Estimate exact gallon coverage first with our paint calculator.

Evelyn Marlowe is a home decor writer and small-space devotee covering budget-friendly decorating, rental-friendly upgrades, and seasonal styling — always with real prices and practical advice. Her rule: beautiful homes should be livable, not just photographable.
Related Stories
How to Hang Curtains Without Drilling: 5 Renter Hacks Tested (Up to 25 lbs)
How to Cover a “Boob Light” in a Rental: 5 Under-$35 Fixes (No Wiring)
