DIY Christmas Ornaments on a Budget: 5 Easy Makes
In this article
- 1. Paper Star Ornaments (Beginner, 30 Minutes, $1)
- 2. Salt Dough Ornaments (Beginner, 1 Hour + Baking, $2)
- 3. Pine Cone Ornaments (Easy, 20 Minutes, Free)
- 4. Felt Star Ornaments (Intermediate, 45 Minutes, $4)
- 5. Dried Orange Slice Ornaments (Intermediate, 15 Minutes + Drying, $3)
- Hanging and Storing Handmade Ornaments
- The Under-$20 Handmade Tree
- DIY Ornament Cost, Time & Durability Comparison
- DIY Christmas Ornament FAQs
Quick answer: The best diy christmas ornaments are the ones you can finish in one evening for under $5: paper stars (30 minutes, $1), salt dough ornaments (1 hour plus baking, $2), pine cone ornaments (20 minutes, free), felt stars (45 minutes, $4), and dried orange slices (15 minutes plus drying, $3). Start with paper, end with dried orange, and a whole tree can be handmade for under $20.
Store-bought ornaments cost $3–$10 each, and a full tree needs forty of them. Handmade ornaments cost a fraction of that — and unlike store ornaments, they carry a memory. Every December, the salt dough star from three years ago means more than any bauble from a box.
This guide is a ladder, not a list. Five tutorials in order of difficulty, each with its real cost, real time, and the mistakes that ruin it. Start at the top if you have never crafted anything; work down if you already own a glue gun.
1. Paper Star Ornaments (Beginner, 30 Minutes, )
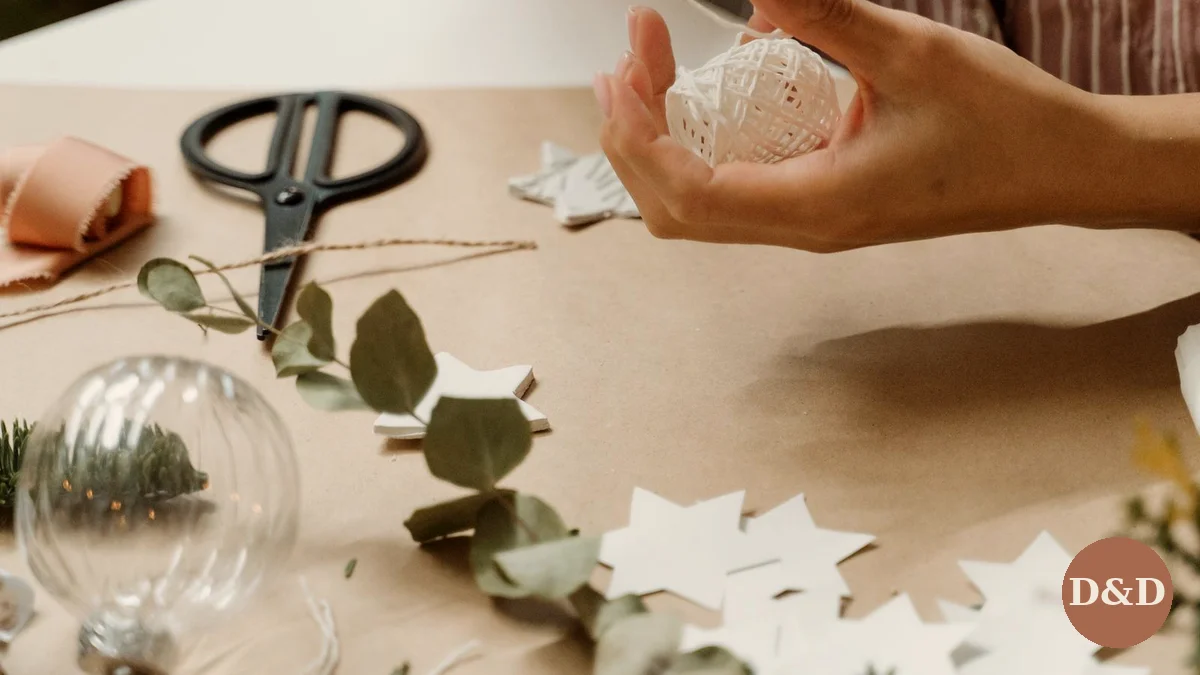
You need: white or colored cardstock, scissors, string or twine, a hole punch.
How to make them: cut star shapes from cardstock — one large star and one small star per ornament — and punch a hole near one point. Thread twine through the hole and knot it into a loop. Layer the small star on the large one with a dot of glue, and add glitter or a marker pattern if you want color. Paper is the best first ornament for a reason: it is cheap, it is forgiving, and a mistake costs a sheet of paper, not a project. Kids can do every step except the hole punch, and a dozen stars fill a small tree on their own. Our small Christmas tree guide explains why small ornaments like these — around 1 inch — are the right scale for tabletop and mini trees.
Mistake to avoid: regular printer paper tears at the hanging hole. Cardstock or construction paper holds the weight; thin paper does not.
2. Salt Dough Ornaments (Beginner, 1 Hour + Baking, )
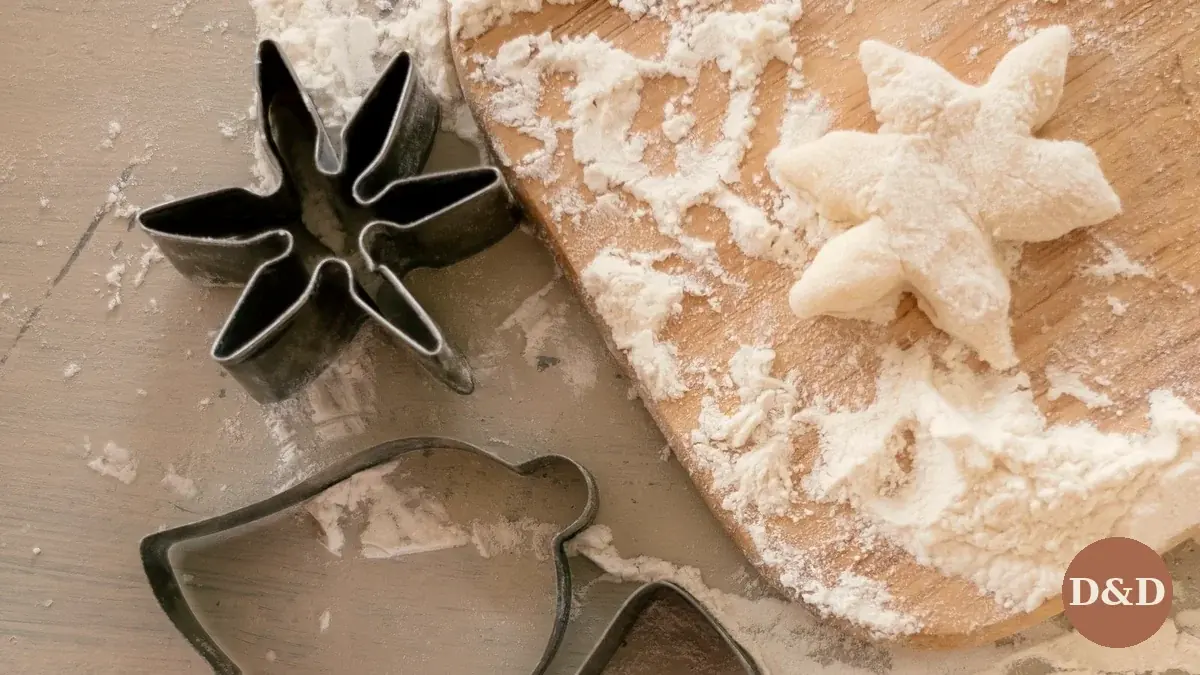
You need: 2 cups flour, 1 cup salt, 1 cup water, cookie cutters, a straw, acrylic paint, varnish or Mod Podge.
How to make them: mix the flour, salt, and water into a smooth dough and roll it to 1/4-inch thickness. Cut shapes with cookie cutters, poke a hanging hole near the top with a straw, and bake at a low oven (200°F / 100°C) for about 2 hours, flipping once — or air-dry for 2–3 days if you are patient. Paint when fully cool, then seal with varnish. Sealed salt dough ornaments last for years; unsealed ones soften in humidity, which is the one real failure mode of this project.
Mistake to avoid: rolling thicker than 1/4 inch. Thick ornaments look fine going in and crack coming out, because the outside dries while the center is still wet.
3. Pine Cone Ornaments (Easy, 20 Minutes, Free)
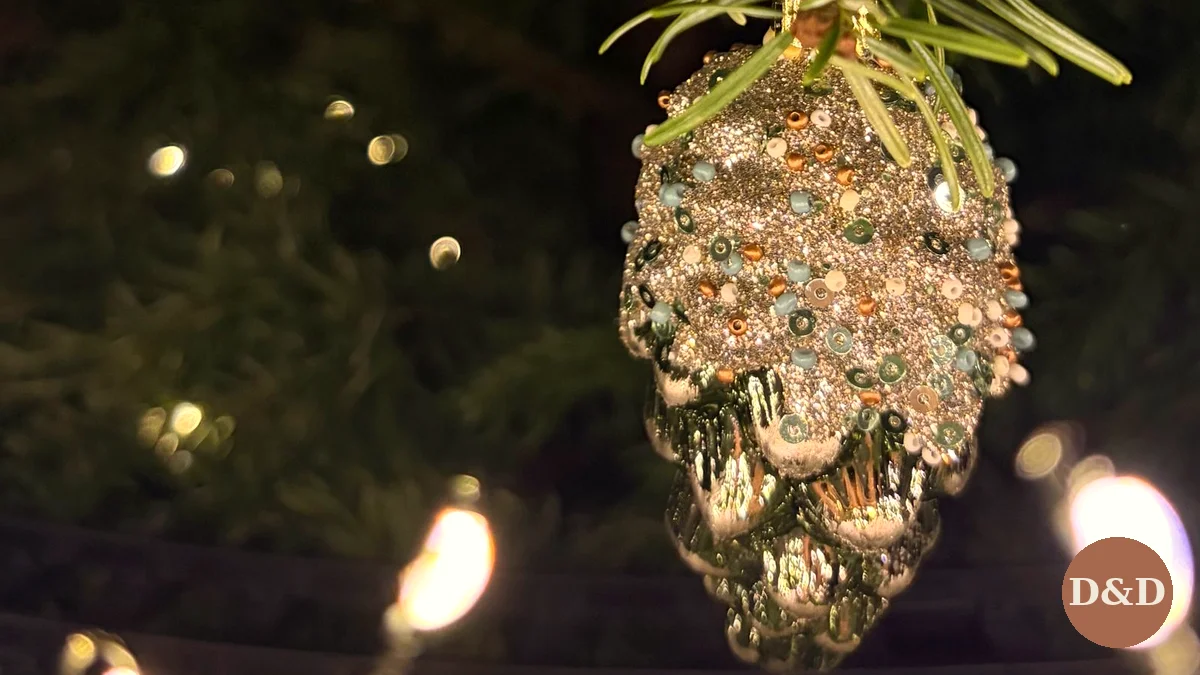
You need: dry pine cones (gathered or a $3 bag), glitter or metallic paint, glue, twine.
How to make them: clean the cones and let them dry fully — a damp cone closes up and will not hold glitter. Brush glue onto the scale tips and dust with glitter, or spray with metallic paint for a frosted look. Tie twine around the top scales for a loop. Pine cone ornaments are the fastest tutorial here and the best one for a natural, rustic tree: they cost nothing if you gather the cones, they look expensive once glittered, and the rising search for “pine cone ornaments” every November says plenty of other people agree.
Mistake to avoid: glittering a damp cone. It clumps, it falls off, and it takes the paint with it. Dry first, always.
4. Felt Star Ornaments (Intermediate, 45 Minutes, )
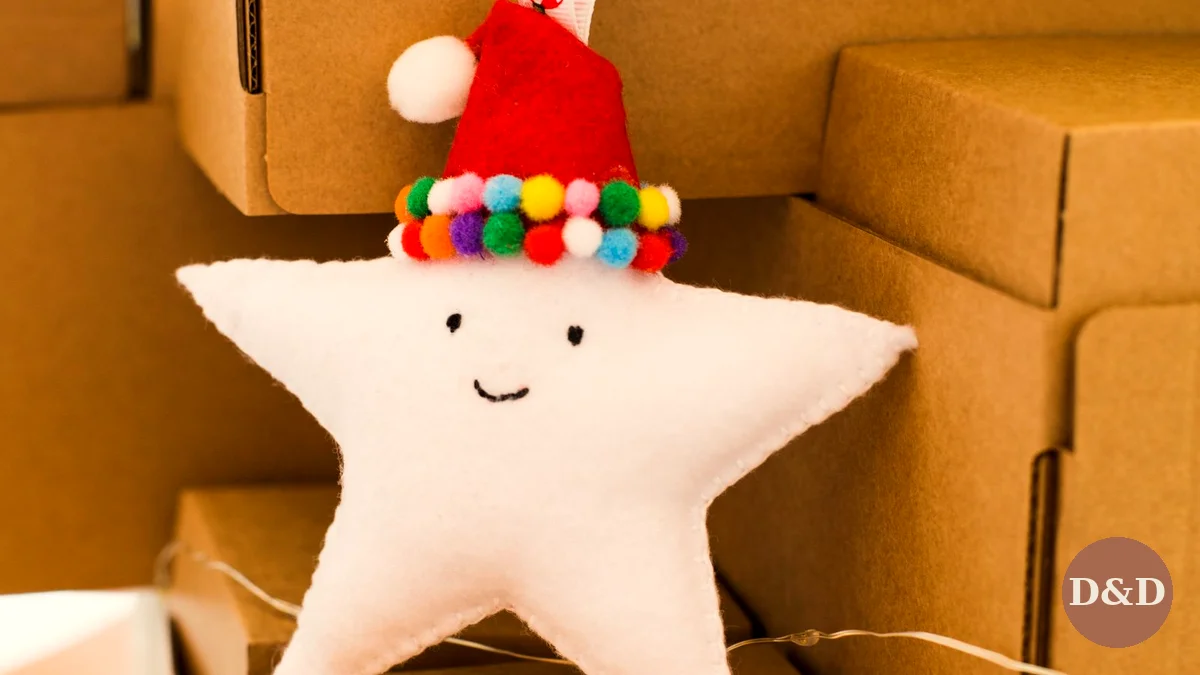
You need: felt sheets, scissors, needle and thread or a hot glue gun, a little stuffing, ribbon.
How to make them: cut two matching star shapes from felt, stitch or glue them together around the edges leaving a small gap, stuff lightly so the star holds its shape without bulging, close the gap, and add a ribbon loop. Felt does not fray, which is why it is the friendliest sewing project there is — no hemming, no finishing, and a slightly wonky stitch line looks handmade in the good way. A felt star also doubles as a gift topper or a stocking decoration: our Christmas stocking guide uses mini felt stockings the same way.
Mistake to avoid: overstuffing. A felt ornament should be soft and flat, not a ball — a handful of stuffing is plenty for a 4-inch star.
5. Dried Orange Slice Ornaments (Intermediate, 15 Minutes + Drying, )

You need: 2–3 oranges, a sharp knife, a baking sheet, string or wire.
How to make them: slice oranges 1/4-inch thick, pat the slices dry, and bake at a low oven (200°F / 100°C) for 2–3 hours, flipping every 30 minutes, until fully dry and slightly translucent. Thread string through the center or hook wire around the edge and hang. Dried orange slices glow beautifully against tree lights, smell faintly of Christmas, and cost almost nothing — the whole project is the price of the oranges. They are decoration only, not food, once dried and handled.
Mistake to avoid: rushing the drying. A slice that feels dry on the outside but is damp inside will go soft and spotty in storage. If it bends instead of holding stiff, it needs more time.
Hanging and Storing Handmade Ornaments
Hang lighter ornaments (paper, dried orange) on branch tips and heavier ones (salt dough, felt) closer to the trunk where branches are stronger. Store handmade ornaments in tissue paper in a rigid box, labelled by year — salt dough and dried orange need a dry box, not a damp attic corner. The ornaments that survive are the ones that were sealed (salt dough), fully dried (orange), and stored flat (paper).
The Under- Handmade Tree
Paper stars ($1) + salt dough ($2) + pine cones (free) + felt stars ($4) + dried orange slices ($3) + string and glue you already own ($5) = about $15 for a full set of handmade ornaments. Make one tutorial per evening for a week and the tree is done by the weekend — and every ornament on it has a story, which is the one thing a store cannot sell.
DIY Ornament Cost, Time & Durability Comparison
Before pulling out glue guns or baking sheets on a busy weeknight, compare how long each budget ornament project takes and how many seasons it survives in storage:
| Ornament Project | Supply Cost (Batch of 12) | Active Prep Time | Multi-Year Lifespan |
|---|---|---|---|
| Folded paper stars | $1–$3 (heavyweight 65lb+ cardstock) | 30 minutes | 3–5 years stacked flat in a rigid shoebox |
| Salt dough cutouts | $2 (flour, salt, acrylic sealer) | 45 mins + 2 hr low bake | 5+ years when sealed front & back with clear matte spray |
| Glittered or frosted pine cones | $0–$2 (foraged + twine) | 20 minutes (bake dry first) | 4+ years inside sealed plastic zip bins |
| Stitched felt stars | $4–$6 (craft felt sheets + embroidery floss) | 45–60 minutes | 10+ years — virtually unbreakable around pets & toddlers |
| Dried orange slices | $3–$4 (2–3 naval oranges) | 15 mins prep + 3 hr oven dry | 1–2 seasons (store with a silica packet; compost if soft) |
DIY Christmas Ornament FAQs
How long do salt dough ornaments last?
Years, if sealed with varnish and stored dry. Unsealed salt dough softens in humidity and can spot — sealing is not optional, it is the step that makes them permanent.
Can kids make DIY Christmas ornaments?
Paper stars and pine cones are fully kid-safe. Salt dough cutting is kid-safe; the oven step is adults-only. Felt stitching suits older kids; younger ones can glue instead of stitch.
How do I hang ornaments without hooks?
Twine loops, ribbon loops, or short lengths of wire twisted around a branch. All three hold better than thin metal hooks on small handmade ornaments, and they look better too.
Do dried orange ornaments attract bugs?
Fully dried slices, stored in a dry box, do not. A damp slice can spot and attract moisture-loving pests — which is why the drying step, not the slicing, is the real project.
What paint is safe for handmade ornaments?
Acrylic craft paint for salt dough, felt, and pine cones. Seal painted salt dough with varnish. Keep painted ornaments away from pets that chew — acrylic is craft-safe, not food-safe.

Evelyn Marlowe is a home decor writer and small-space devotee covering budget-friendly decorating, rental-friendly upgrades, and seasonal styling — always with real prices and practical advice. Her rule: beautiful homes should be livable, not just photographable.
Related Stories
Christmas Tree Decor Ideas: 7 Cohesive Themes
Christmas Table Decor Ideas: 7 Budget Tablescapes