Freestanding Under-Stair Storage Ideas Under $200
In this article
- Measure the Slope First (Three Zones, Five Minutes)
- 1. Modular Cube Storage That Hugs the Slope
- 2. A Freestanding Dresser or Console at the Tall End
- 3. Dedicated Shoe Storage
- 4. Baskets and Bins (Shelves or Floor)
- 5. A Storage Bench (Seat + Storage in One)
- The Under-$200 Full Setup
- Mistakes That Ruin a Freestanding Setup
- Under-Stair Slope Height Clearance Matrix
- Safety Rule: Anchoring Stepped Cubes Without Wrecking Rental Walls
- Freestanding Under Stair Storage FAQs
Quick answer: The best freestanding under stair storage ideas need no drilling, no carpenter, and no permission: measure your staircase slope in three height zones, then match furniture to each zone — tall units at the tall end, low units at the low end. Five solutions below — cubes, a dresser, shoe storage, baskets, and a bench — furnish a full under-stairs setup for under $200.
Our under-stairs storage guide covers the full range, including built-ins. This post is the no-build version of it: everything here is furniture you carry in, arrange, and carry out again when you move. Renters, budget renovators, and anyone who wants it done this weekend — this is your version.
Measure the Slope First (Three Zones, Five Minutes)
Measure three heights under your staircase: the tall end (where the stairs are highest), the middle, and the low end (where the slope nearly meets the floor). Also measure the depth from the wall to the front edge, and check what needs to stay clear — a walkway, a door swing, a radiator. Then match furniture to zones: tall furniture only at the tall end, low furniture at the low end. At the low end, favor pull-out pieces — low bins or a rolling cart you can pull all the way out — instead of fixed shelves you cannot reach into. The single most common mistake is putting a tall unit where the slope is low — it sticks out, blocks the walkway, and looks wrong. Zone-matched furniture looks built-in even though nothing is built.
1. Modular Cube Storage That Hugs the Slope
The idea: cube units in different sizes, stepped to mirror the slope — a 2×4 unit at the tall end, a 2×2 or 1×4 at the low end — so the furniture itself becomes a staircase of shelving.
How to do it: modular cube units ($100–$180 for the set) plus fabric bins in one consistent color ($20–$30 for a set). One bin color is the rule that makes it read as designed, not improvised. Cubes hold books, kids’ toys, craft supplies, pantry overflow, and shoes — and the top of the tallest unit doubles as a display shelf. No wall anchoring is needed for a renter setup, though anchoring is safer if you have kids climbing.
2. A Freestanding Dresser or Console at the Tall End
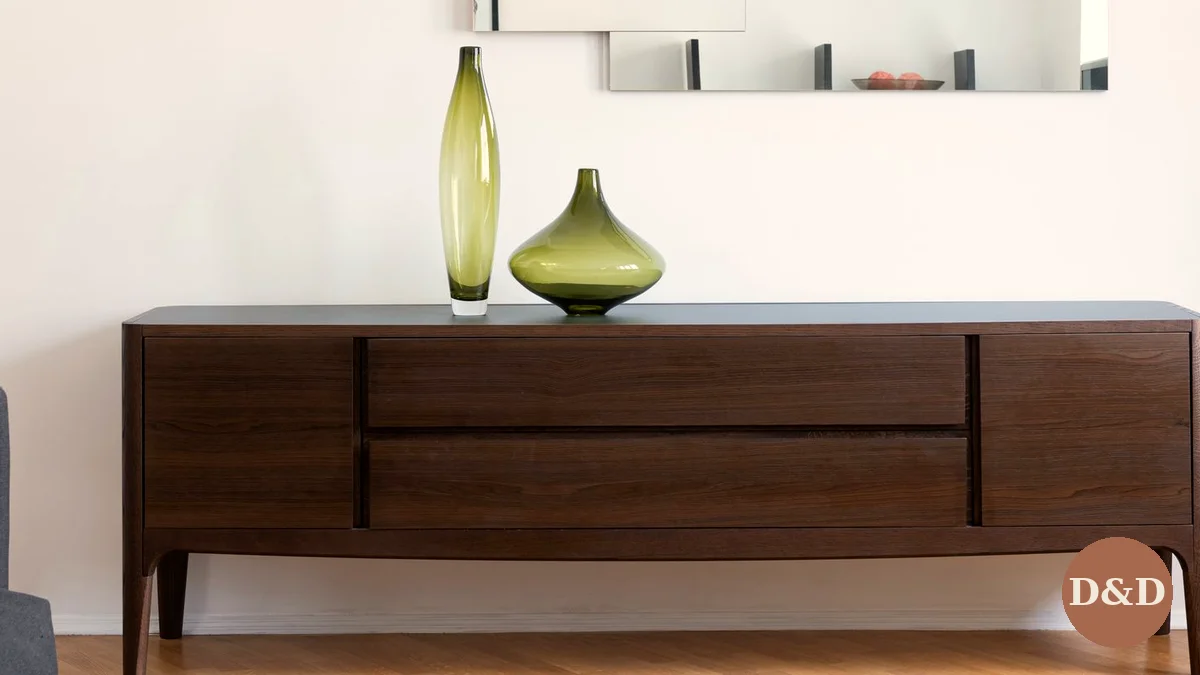
The idea: sometimes the easiest solution is the best — a low bookshelf, a small dresser, or a console table that fits neatly into the tall end, instantly and with no assembly drama.
How to do it: a small dresser or console ($40–$80 new, less secondhand) placed at the tall end, drawers facing out. Drawers hide clutter better than open shelves, which is why a dresser beats a bookshelf for hallway junk — keys, chargers, dog leads, and the things that otherwise live on the stairs themselves. It may not use every inch of the slope, but it is an instant, no-fuss upgrade.
3. Dedicated Shoe Storage
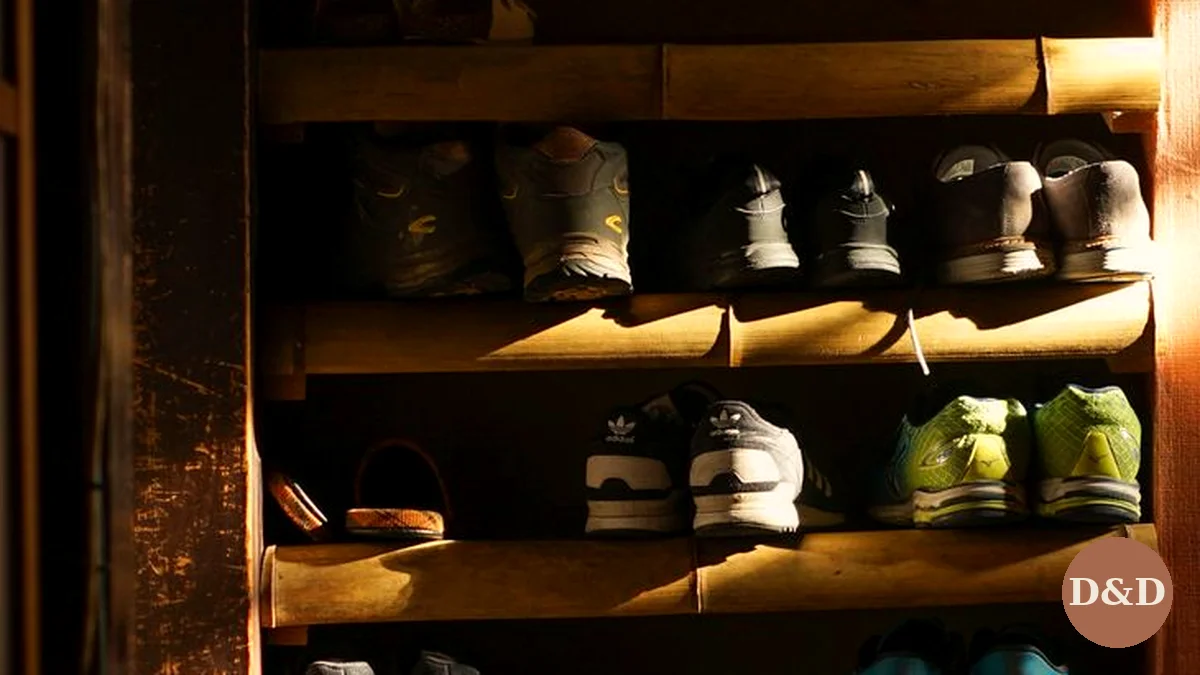
The idea: shoes are the number-one thing that ends up under the stairs, so give them their own unit instead of letting them colonise every other solution.
How to do it: a shoe rack or slim shoe cabinet ($30–$45) at the middle or tall end, with lower shelves for kids’ shoes so they can put their own away. If your entryway is the same space as your stairs, this unit pairs with our small entryway guide — shoes sorted at the door means the hallway stays clear. Keep one shelf empty; a full shoe unit overflows back onto the floor within a week.
4. Baskets and Bins (Shelves or Floor)
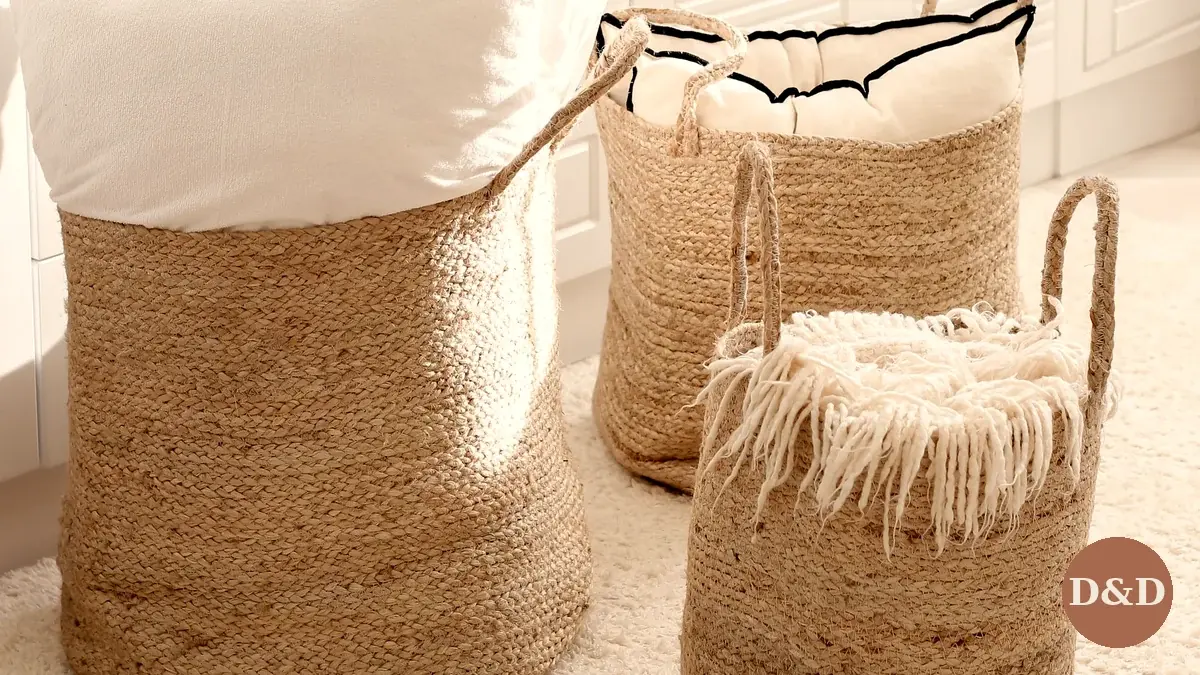
The idea: open shelving plus labelled baskets — the cheapest system here, and the easiest to change when what you store changes.
How to do it: a simple freestanding shelf unit ($30–$50) plus baskets or bins ($20–$40) — or just set large baskets on the floor at the low end, where a shelf would be too dark to reach into. One basket per category, labels facing out. Baskets work like our pantry system — categories, not piles. The advantage over drawers is flexibility: when the kids outgrow toys, the same baskets hold linens or pantry overflow with nothing to rebuild.
5. A Storage Bench (Seat + Storage in One)
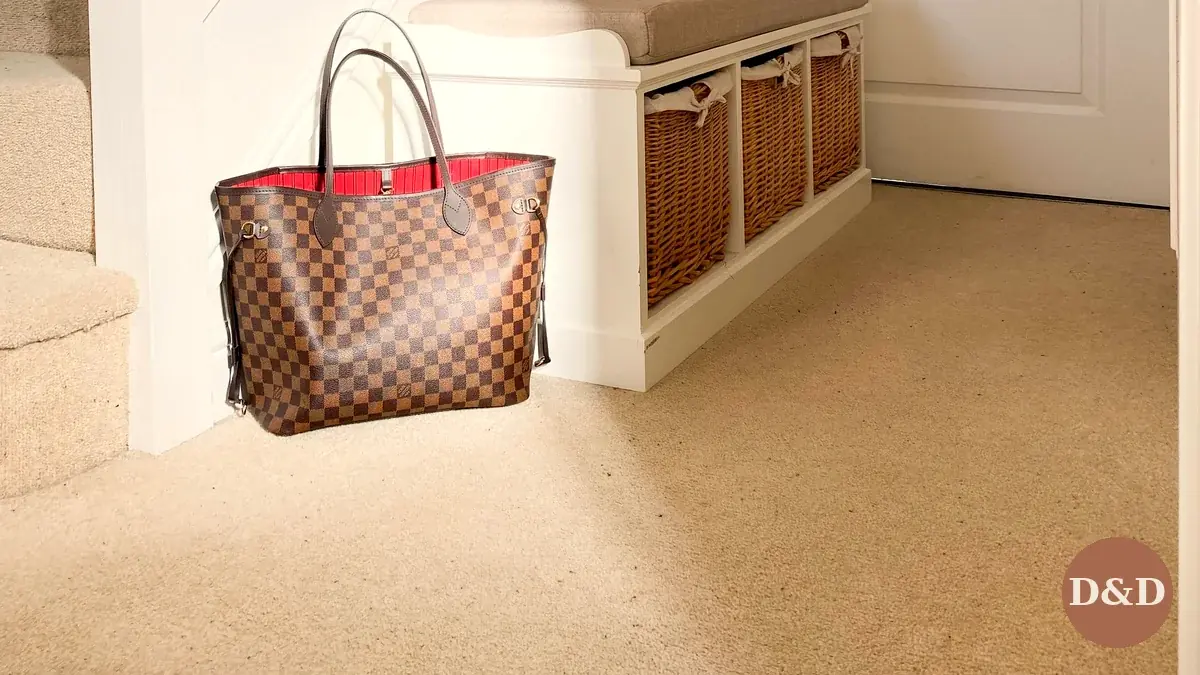
The idea: a bench you sit on to put shoes on, with baskets underneath for everything else — the one piece that solves two hallway problems at once.
How to do it: a hallway storage bench ($85–$200) with baskets or a drawer underneath, placed at the tall or middle zone where headroom allows sitting. Shoes, hats, gloves, and bags live underneath; you sit on top. Measure sitting headroom before buying — you need enough clearance to sit without hitting the slope, which usually means the bench goes at the tall end, not the middle.
The Under-0 Full Setup
Cube units ($100–$180) are the biggest single cost; everything else is small. A complete setup mixes solutions by zone: cubes at the tall end ($120), shoe storage ($35), and baskets ($25) — about $180 total. Or go cheaper: a secondhand dresser ($40) + shoe storage ($35) + baskets ($25) = $100. Compare that with custom built-ins at $2,000–$8,000 from our main guide: freestanding gives you roughly 80% of the storage at under 10% of the price, and it moves with you when you move house.
Mistakes That Ruin a Freestanding Setup
Blocking the walkway — measure clearance first, furniture second. Putting a tall unit at the low end — zone matching is not optional. Mismatched bins in five colors — one color reads as designed, five read as clutter. No labels — an unlabeled basket becomes a junk basket within a month. And skipping the measuring step entirely — five minutes with a tape measure prevents the one mistake (wrong-size furniture) that no amount of styling fixes.
Under-Stair Slope Height Clearance Matrix
Most under-stair areas fail when homeowners try to jam one tall cabinet into a triangle-shaped cavity. Divide your staircase length into three vertical bands and match each section to standard freestanding US furniture dimensions:
| Slope Clearance Height | Available Width Section | Best-Fit Freestanding Piece | Smart Everyday Contents |
|---|---|---|---|
| Under 28″ (low tail end) | First 24″–30″ from floor point | Single-row low woven baskets or slim 2-tier shoe tray | Rain boots, dog leashes, soccer gear, vacuum accessories |
| 28″–48″ (mid slope) | Middle 30″–36″ span | 3-cube stepped shelf (29″ tall) + bench seat (18″ tall) | Folded backpacks, library books, winter hats, seasonal bins |
| 50″+ (tall high end) | Deepest 24″–36″ wall | Narrow 3-drawer chest (32″ wide) + hanging coat hooks above | Toolboxes, spare paper towels, scarves, coats, mail tray |
Safety Rule: Anchoring Stepped Cubes Without Wrecking Rental Walls
Even freestanding stepped cube units can tip forward if a toddler climbs the lower shelf or a heavy basket slides out on smooth hardwood. Keep heavy items strictly in the bottom cubes, apply sticky rubber furniture gripper pads under every leg, and — in homes with children — install an adhesive or single discreet drywall anchor strap into the tall stair riser stud (one tiny hole patches with spackle in two minutes when moving out).
Freestanding Under Stair Storage FAQs
Do freestanding units need to be anchored to the wall?
Not for the units to work, but tall units should be anchored if you have kids or pets who climb — adhesive furniture straps are the renter-friendly option that leaves no holes.
What if my under-stairs slope is very low?
Use only low solutions: rolling carts, low bins, and flat baskets. Tall furniture does not belong at a low slope — that zone is for things you pull out, not things you stack up.
Freestanding or built-in — which is better?
Built-ins use every inch but cost $2,000–$8,000 and stay with the house — see our main under-stairs guide for those. Freestanding costs $100–$300, needs no permission, and moves with you. Renters and budgets should start freestanding.
How do I hide freestanding storage so it does not look messy?
One bin color, labels facing out, and — the oldest trick — a tension-rod curtain across the opening. The curtain hides everything and makes the space look intentional for under $15.
Can renters really do all of this?
Yes: every solution here is furniture, not construction. No drilling, no permission needed, and everything carries out when you move — which is the whole point of freestanding.

Evelyn Marlowe is a home decor writer and small-space devotee covering budget-friendly decorating, rental-friendly upgrades, and seasonal styling — always with real prices and practical advice. Her rule: beautiful homes should be livable, not just photographable.
Related Stories
How to Hang Curtains Without Drilling: 5 Renter Hacks Tested (Up to 25 lbs)
How to Cover a “Boob Light” in a Rental: 5 Under-$35 Fixes (No Wiring)